Git Instructions
Table of contents
- General workflow
- First time setup: how to install the project repository
- Commit and push changes results to your fork
- Pull requests: update the main repository with your code
- Syncing: update your fork with changes from the main repo
- For more instructions see here
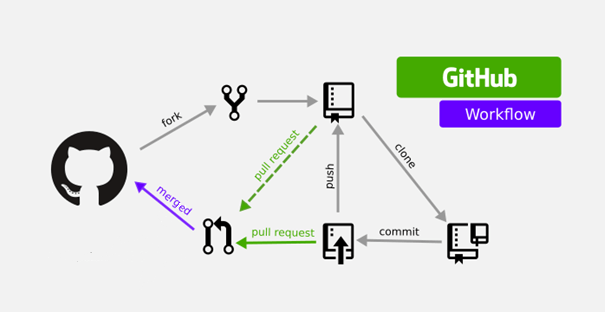
General workflow
We will be using github to manage uploading our results for the project and sharing work
First time setup: how to install the project repository
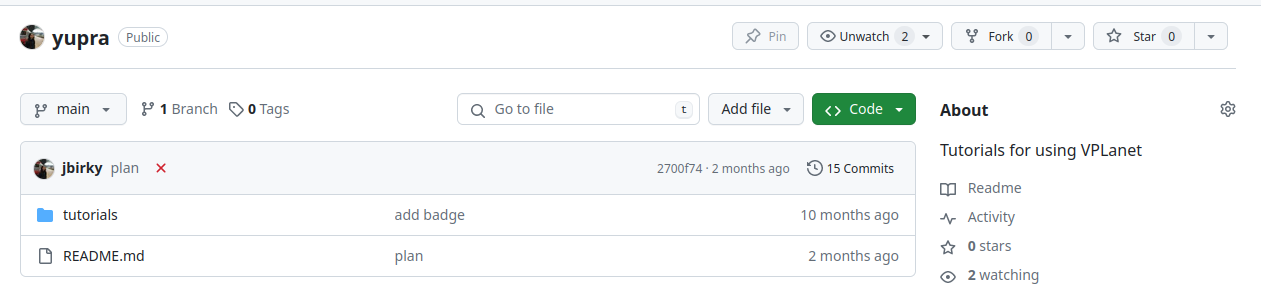
Fork the repo
Navigate to https://github.com/jbirky/yupra on your browser. In the upper right corner, select the Fork button:
Choose yourself as the owner for the forked repo and check “copy main branch only”:
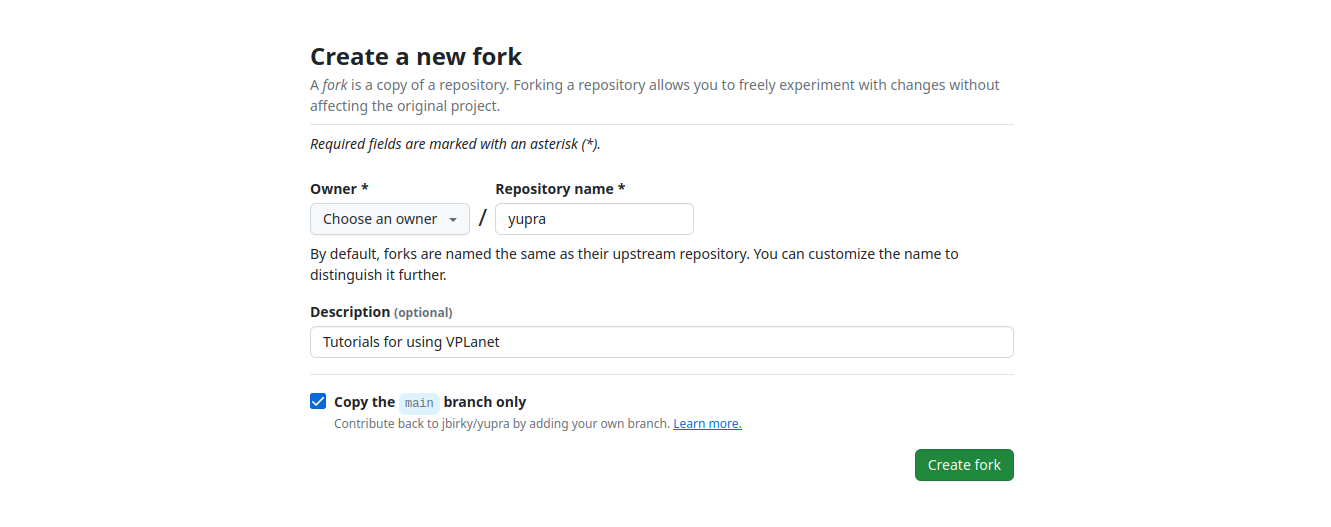
(Note: Step 1 only needs to be done once.)
Clone repo to local computer
Now we want to clone our fork of the repository onto our local machine. We can put this in the same research/ directory as our other files. To do this, change directories to your research/ folder:
cd ~/research
Within the research directory, download the repo by using the clone command (and replacing jbirky in the url with your own github username):
git clone https://github.com/jbirky/yupra
If you type ls, you should now see all of the packages we’ve downloaded plus the yupra repo:
/research
	/alabi
	/vplanet
	/vplanet_inference
	/yupra
	...
Now we’ll create a new folder within the yupra project to store our code and results. To do this, navigate to yupra directory and create a new folder with your name:
cd yupra
mkdir jbirky
This is the folder where you’ll add all the code that you write (note: you only need to create this folder once).
Commit and push changes results to your fork
Copy the tutorial files to your personal folder:
cp -r tutorials/ jbirky/tutorials
Now if you type
git status
you can check that git has tracked that new files have been added or modified, and the status command should show something like
Untracked files:
  (use "git add <file>..." to include in what will be committed)
	jbirky/
To take changes we’ve made on our local machine and upload them back to our repo fork, we need to add the new files, commit the changes with a commit message, and push them to upload:
git add jbirky/
git commit -m "copy tutorials"
git push
now if you go back to the webpage of your fork https://github.com/username/yupra, you should see that your new files have been uploaded.
Pull requests: update the main repository with your code
Go to the webpage of your fork https://github.com/username/yupra, and in the upper right select Contribute:
This will now create a pull request, allowing your fork username/yupra to be merged with the main repo jbirky/yupra.
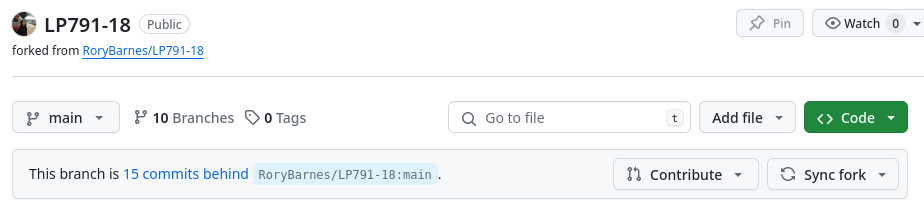
Syncing: update your fork with changes from the main repo
Go to the webpage of your fork https://github.com/username/yupra, and in the upper right select Sync fork:
This will sync changes made by others from the main repo jbirky/yupra to your own fork fork username/yupra. Then to update the code on your local computer, go to your research/yupra directory and pull the latest version of your fork:
git pull